Disk Utility First Aid failed on my Mac, and now I’m getting a com.apple.diskmanagement.disenter error when I try to mount the drive. I need help figuring out what caused this and how to recover access to the disk without losing my files.
When a drive shows up in Disk Utility but refuses to mount
I ran into this with the ‘com.apple.DiskManagement.disenter’ error, and yeah, it feels bad fast. The Mac sees the disk, yet it sits there grayed out like a brick. In my case, macOS detected the hardware, but something blocked the file system from mounting.
What I kept seeing fell into three buckets:
- the drive got unplugged without ejecting first
- the file system took damage, or macOS stopped handling it cleanly
- a background repair process got stuck and never let go
This is the order I would use.
1. Kill the stuck file system check first
After a rough disconnect, macOS often fires up fsck. On paper, fine. In practice, I have seen it hang and keep the disk locked the whole time. Disk Utility then shows the drive, but you still can’t mount it.
Open Terminal and run:
sudo pkill -f fsck
Hit Enter. Type your Mac password. You won’t see characters while typing, which is normal on macOS.
If the drive mounts right after this, move fast. Copy your important files off it now. If it comes up read-only, treat that like a warning sign, not a small glitch.
2. Run First Aid on the whole stack
Disk Utility hides part of the structure unless you tell it not to.
Open Disk Utility, click View, then choose Show All Devices.
Now run First Aid in this order:
- Physical drive
- Container, if one appears
- Volume
I learned the hard way that order matters. Errors don’t always live in the visible volume. Sometimes the problem sits one layer above it. I have also had First Aid fail once, then do a bit more on a second pass. So if you get directory errors, header issues, or B-tree complaints, a repeat run isn’t a waste.
3. Try a clean user session
This part sounds dumb until it works.
Log out of your account. Log back in and test the disk again. If you have another user account on the same Mac, try mounting it there too.
I have seen a disk fail in one account and mount fine in another. When that happens, the drive is not always the main problem. Your user session, permissions, or some weird preference file might be in the way.
4. Check Time Machine before you keep poking at the disk
If the drive used to be a Time Machine target, macOS sometimes keeps touching it in the background. I had one backup disk keep acting busy long after I stopped using it for backups.
Go into System Settings and turn off automatic Time Machine backups for a minute. Then try mounting the disk again.
Not elegant, but worth doing.
5. Stop forcing repairs if the disk keeps failing
This is the part where I usually stop pretending Disk Utility will save the day.
If the drive throws the same mount error over and over, quit trying to repair it in place. At some point you switch from ‘fix the disk’ to ‘get the files off before this gets worse.’
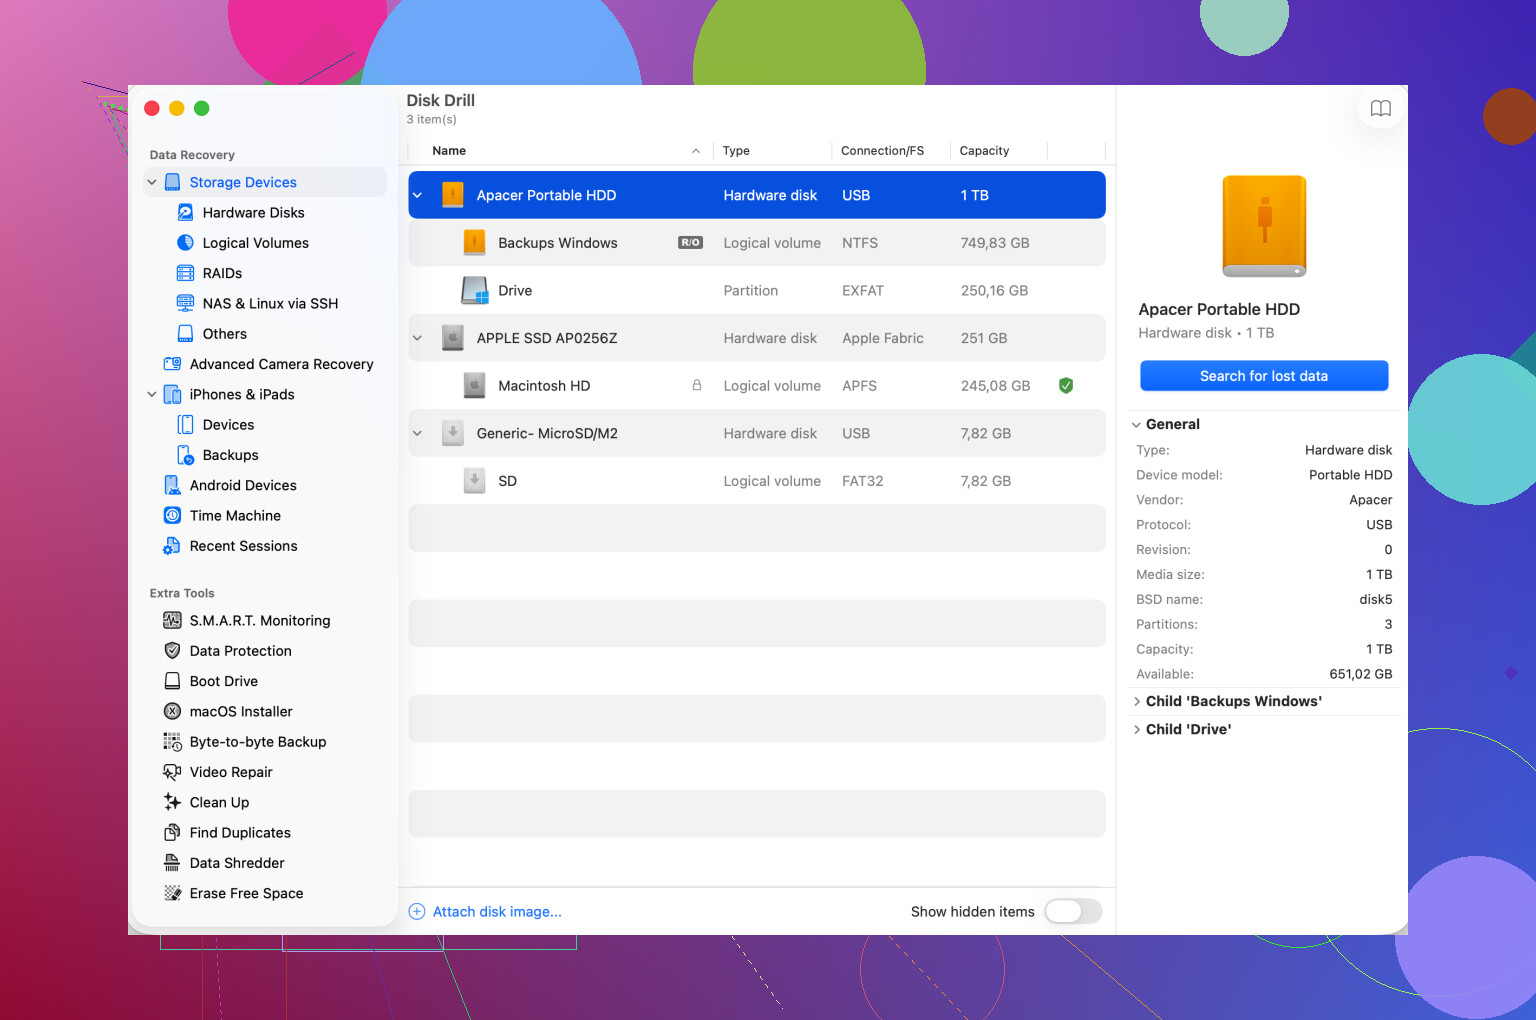
One option is Disk Drill. It scans the drive even when macOS refuses to mount it normally. Instead of waiting for the file system to behave, it reads the disk more directly and might pull out files or rebuild something close to a usable folder tree.
If you recover data, save it to a different healthy drive. Don’t write back to the sick one. I did this wrong once years ago. Bad idea.
6. Erase the disk only after your files are safe
Once your data is copied somewhere else, wipe the problem drive and set it up again from scratch.
In Disk Utility, select the physical disk and click Erase.
Use one of these:
- APFS for newer Mac-only use
- Mac OS Extended Journaled for older Mac setups
- exFAT if you need the drive to work with both macOS and Windows
If the drive will live mostly on your Mac, formatting it on the Mac tends to go smoother.
What I would not do
I would not keep hammering First Aid ten times in a row.
I would not unplug and replug it over and over.
I would not erase first and think about recovery later.
The safer path is boring. Get the files off. Then format. Then start fresh.
And yeah, eject the drive before pulling it next time. I skipped it once because I was in a hurry. Cost me an evening.
2 Likes
This error usually means macOS sees the device, but it refuses to mount the file system. First Aid failing before the disenter error points to one of three things.
- File system corruption.
- Partition map damage.
- Hardware trouble, often the USB bridge, cable, enclosure, or the drive itself.
I’d do one thing different from @mikeappsreviewer. I would not keep rerunning First Aid if it already failed hard. One extra pass is fine. After tht, stop. Repeated repairs on a shaky disk sometimes make recovery worse.
Try these checks.
Open Terminal and run:
diskutil list
Find the disk identifier, like disk2 or disk3s1.
Then inspect it:
diskutil info /dev/disk2
Look for:
Unmounted: Yes
File System Personality
S.M.A.R.T. status, if it is a direct internal or supported external drive
Next, try a manual mount:
sudo diskutil mountDisk /dev/disk2
If macOS returns the same disenter code, test the partition map:
sudo gpt -r show /dev/disk2
If GPT output looks broken, the issue is lower than the volume level. Disk Utility often chokes there.
Also check system logs:
log show --last 10m | grep -i disenter
This sometimes shows if the block is APFS, HFS+, I/O error, or permission related.
Important step people skip. Test the drive on another cable, another port, or a different enclosure. I’ve seen ‘corrupt disk’ errors caused by a bad SATA to USB adapter. Same drive, new enclosure, mounted fine. It sounds dumb, but it hapens a lot.
If the disk is important, switch from repair to recovery now. Disk Drill is a solid option for Mac data recovery when a drive will not mount. It scans the raw device and often pulls files even after First Aid fails. Save recovered files to a different disk.
If you want to check user feedback first, read Disk Drill customer reviews and recovery experiences.
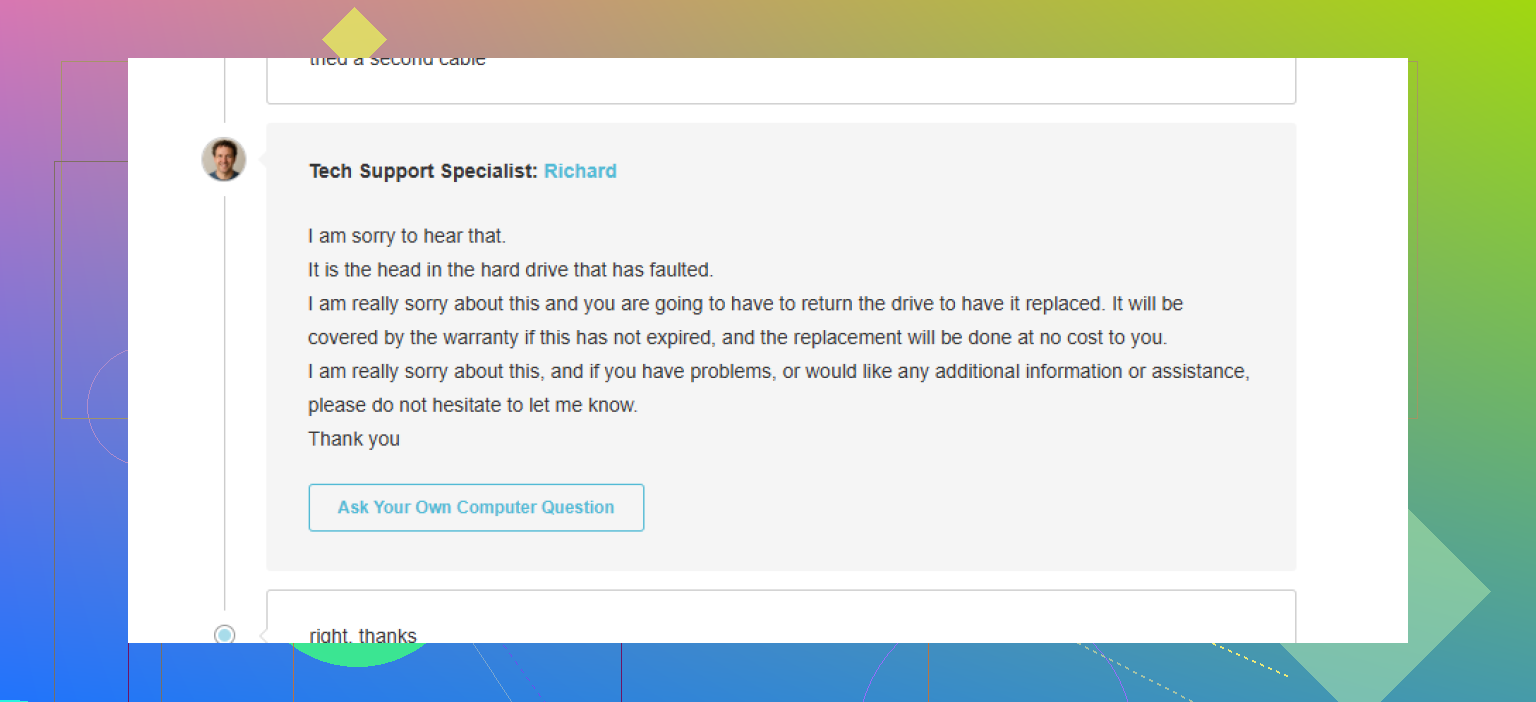
If recovery works, erase the whole physical disk, not only the volume. Rebuild the partition map, then format fresh. If erase fails too, I’d suspect hardware more than software.
I’d add one angle that both @mikeappsreviewer and @techchizkid only touched lightly: sometimes this error is not really a “mount” problem first, it’s an ownership or encryption handoff problem.
If the drive is APFS and came from another Mac, check whether it’s FileVault-encrypted or was mounted with a different user keychain before. In Terminal:
diskutil apfs list
If you see “Locked” anywhere, try unlocking it instead of mounting it:
diskutil apfs unlockVolume diskXsY
Also, if this is an external drive, boot into Safe Mode and test the mount there. Safe Mode disables a lot of third-party junk that can hook into storage, antivirus, backup sync apps, NTFS tools, etc. I’ve seen those cause disenter errors way more than people admit.
One place to look for clues is Console.app, not just Terminal logs. Filter for diskmanagementd and apfsd right after a failed mount attempt. The wording there can be more usefull than Disk Utility’s vague nonsense.
Also, for SEO-friendly clarity: in many cases, this mount error happens because the external hard drive hardware is failing, or because the USB cable, adapter, or enclosure is preventing macOS from reading the disk correctly.
If the data matters, stop trying random fixes after 2 or 3 failed attempts. At that point I’d move to recovery software like Disk Drill, especially if the drive appears in Disk Utility but won’t mount. It’s usually safer to recover files first, then erase later.
Related reading if you want another external drive troubleshooting reference:
fixing an external hard drive that shows up but won’t work properly
One thing I slightly disagree on: logging out/in rarely helps unless the issue is tied to encryption prompts or a background app. Safe Mode is a stronger test, tbh.
I’d check one thing none of the others leaned on enough: power and kernel extension conflicts. @techchizkid is right to stop hammering First Aid, and @viajantedoceu is right that Safe Mode is a stronger test than just logging out. But if this is a bus-powered external HDD or SSD, weak power delivery can trigger disenter errors that look exactly like file system corruption.
Try this angle:
- connect the drive directly to the Mac, no hub
- if it is a 3.5-inch drive, make sure its own power brick is good
- if it is a portable drive, try a powered USB hub or different USB-C adapter
- unplug other high-draw USB devices temporarily
Then check whether macOS is blocking third-party disk drivers:
systemextensionsctl list
and for older tools:
kextstat | grep -i -E 'ntfs|paragon|tuxera|wd|seagate'
I disagree a bit with the idea that this is usually the file system first. A lot of “disenter” cases are really the layer between macOS and the disk, especially old NTFS drivers, antivirus, backup tools, or flaky enclosures.
Also worth testing from Recovery Mode, not normal boot. Open Disk Utility there and see if the disk mounts. If it does in Recovery but not in macOS, that points more to software conflict than physical damage.
If the data matters, clone the disk before more experiments. A sector-level clone is safer than repeated mount attempts. If the disk will not mount but is still readable enough to scan, Disk Drill is reasonable for recovery first.
Disk Drill pros:
- easy Mac interface
- can find files from unmounted volumes
- good for recovering before reformatting
Disk Drill cons:
- not magic if the hardware is dying hard
- recovered filenames/folders may be messy on damaged file systems
- you need another drive to save recovered data
If even Recovery Mode cannot mount it and the physical connection checks out, I’d start suspecting enclosure failure or a damaged partition scheme over a simple volume error.