My Seagate Backup Plus external hard drive suddenly stopped showing up properly on my computer, and I can’t access important photos, documents, and backup files. I’m looking for safe Seagate Backup Plus data recovery options before I do anything that might make the data harder to recover.
First thing: stop messing with the drive for now. Don’t copy anything to it, don’t try to “fix” it, and definitely don’t format it if Windows asks. With deleted files or a RAW/corrupted file system, the data may still be sitting there, but the drive space can get marked as reusable. The more the drive runs, the more chances the system has to write something over what you’re trying to recover.
Do a quick hardware check before jumping into software. Plug it in and listen. If the Seagate Backup Plus is clicking, grinding, repeatedly spinning up and down, or making some awful loud whirring noise, that’s probably physical failure. In that case, recovery software is not the right move. Check Seagate’s Rescue Data Recovery Services first, because some Backup Plus drives include a couple years of recovery coverage under the warranty. Use the serial number on Seagate’s site to see what’s included.
If it sounds normal but doesn’t show up in File Explorer, shows as RAW, or gives you the “you need to format the disk before you can use it” message, that’s more likely a logical problem. Annoying, but much better than a dead drive. Usually it means the files are still there and the file system table is what’s broken.
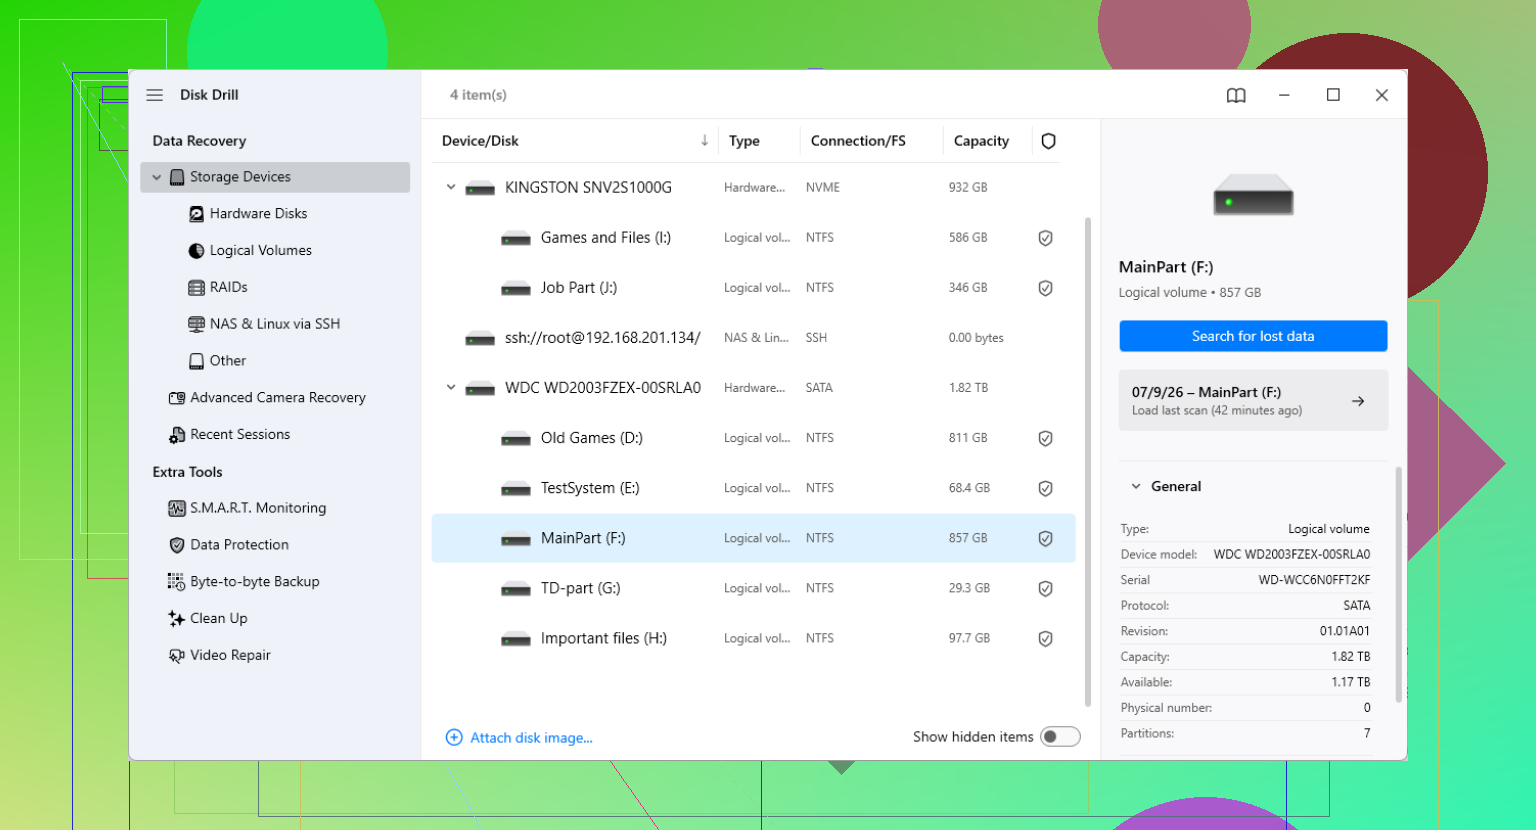
For a DIY recovery, I’d use recovery software rather than trying random Windows repair commands. For Seagate external drives, Disk Drill is a solid option, especially when the partition has gone RAW after a bad unplug or file system corruption.
Here’s the safer way to handle it:
- Install the software somewhere else. Don’t install Disk Drill, or any recovery tool, onto the Seagate drive you’re trying to recover from. Put it on your internal C: drive or another external drive.
- Make a byte-to-byte backup if the drive seems unstable. Disk Drill has a Byte-to-byte backup feature in its extra tools. Use that to create a full disk image of the Seagate drive first. Then unplug the actual drive and scan the image instead. This puts less stress on the physical drive, which matters if it’s starting to fail.
- Use a good USB cable. If you scan the drive directly, try a reliable cable and port. Bad USB cables can make a healthy external drive look broken, and Seagate’s original short cables are not always innocent here.
- Scan for lost data. Select the Seagate drive or the disk image in the recovery software and start the lost-data scan.
- Preview before recovering everything. When files start appearing, use the preview option. If a photo, document, or video previews correctly, that’s the sign you want. It means the file is recoverable, so you can confirm the scan is actually finding usable data before waiting through the whole process.
- Recover to a different drive. This part is important. Save the recovered files to another disk, not back onto the Seagate drive. Writing recovered files onto the same damaged drive can overwrite more data.
If the recovery software doesn’t list the drive, open Disk Management in Windows. If the Seagate shows up there with the correct capacity, like 2TB or 5TB, recovery software can often still read around the damaged file system and pull files out.
After you get the files back, don’t trust the drive right away. Download SeaTools from Seagate and run the Long Generic Test. If it fails, retire the drive. If it passes, you can format it and reuse it, but I’d still keep another backup somewhere else.
Large external drives can take a long time to scan, so don’t be surprised if it runs for hours. As long as the drive is still spinning normally and the issue is logical rather than mechanical, your odds are usually pretty good.
2 Likes
A drive that fails inside the enclosure is a different problem than an enclosure or USB bridge that fails while the disk is still fine. Before scanning for hours, try another cable and another computer, and if it is a desktop-style Backup Plus with a removable SATA drive inside, a tech can test the bare drive in a dock. Don’t crack it open if it’s under warranty or a portable model with USB built onto the drive board.
If you already clicked Format when Windows popped up that message, the answer changes a bit. A quick format does not always wipe the actual files right away, but it does wipe enough file system info that recovery can become messier. You may get the photos back, but folder names, dates, and original file names are sometimes hit or miss depending on how much of the old file system survived.
The biggest thing I would avoid is CHKDSK. People suggest chkdsk /f a lot because it sounds like a repair command, but on a drive with damaged file system metadata it can “repair” the structure by cutting loose files, moving fragments around, or making the drive mountable at the cost of recoverability. If your priority is the data, don’t try to make the drive usable first. Recover first, repair or format later.
There’s another boring check that can save time: look at how the drive appears in Disk Management. Not File Explorer, Disk Management. If it shows the correct size and a partition, even if it says RAW or has no drive letter, that’s a decent sign for software recovery. If it shows No Media, 0 bytes, a wildly wrong capacity, or keeps disappearing and reappearing, I’d stop there. That’s not a “try three more apps” situation.
For a formatted Seagate Backup Plus, I’d scan the whole physical disk, not just the visible partition. Some tools default to the partition because it looks cleaner in the interface, but after formatting or partition damage, the old partition boundaries may be the thing you’re trying to recover around. Disk Drill can do this, and so can some other recovery tools. The practical test is whether it lets you preview real files before paying or before recovering a giant pile of junk.
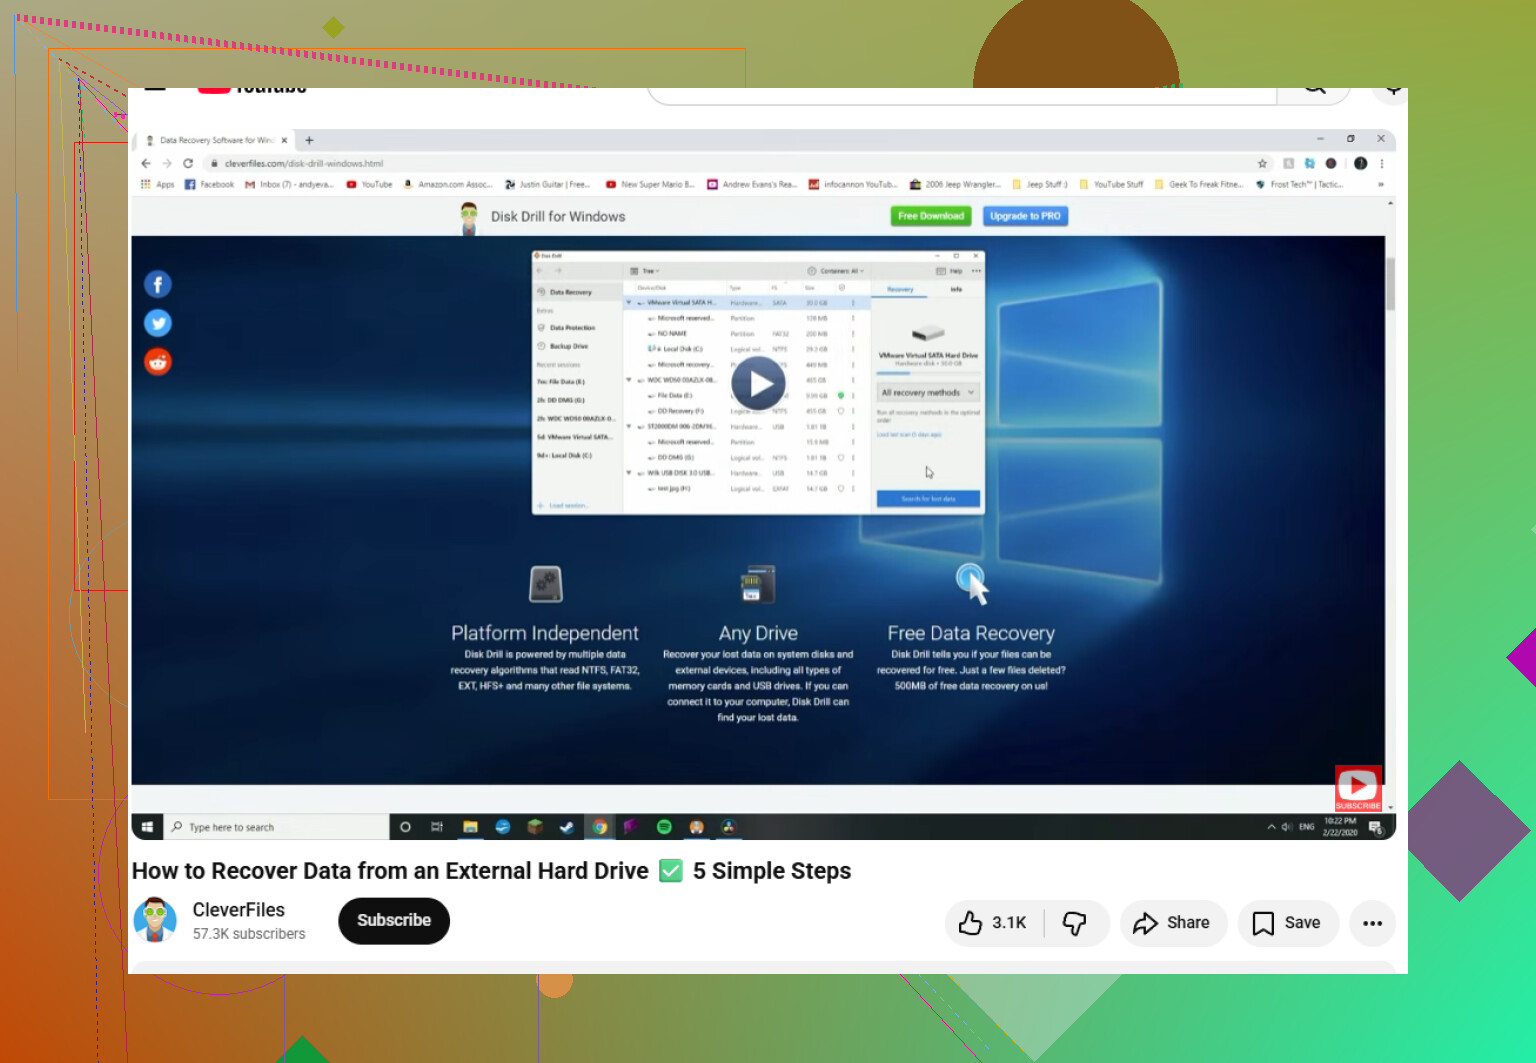
There’s a decent walkthrough here if your specific problem is that the Seagate was formatted: recovering files from a formatted Seagate drive. I wouldn’t treat any video as magic instructions, but it may help if you’re unsure which disk/partition to pick.
A couple of expectations to set:
If these are normal copied photos and documents, recovery odds are usually better.
If they were inside a backup made by Seagate Toolkit, Windows File History, Time Machine, or another backup program, you might recover the backup folders but still need the same software or structure to make sense of them.
If the files were encrypted, recovery software may find the container, but it will not bypass the password.
If the drive was used after formatting, every new file copied to it may have overwritten old data.
If you do scan it, recover only a small sample first. Pick a few important JPEGs, PDFs, Word docs, or videos and open them from the recovery destination. Don’t judge success just because file names appear in the results. A file list can look great while the files themselves are corrupt.
And save recovered files somewhere boring and separate, like your internal drive or a second external drive. Never back onto the Seagate you’re scanning. That mistake is how a recoverable mess turns into a permanent one.
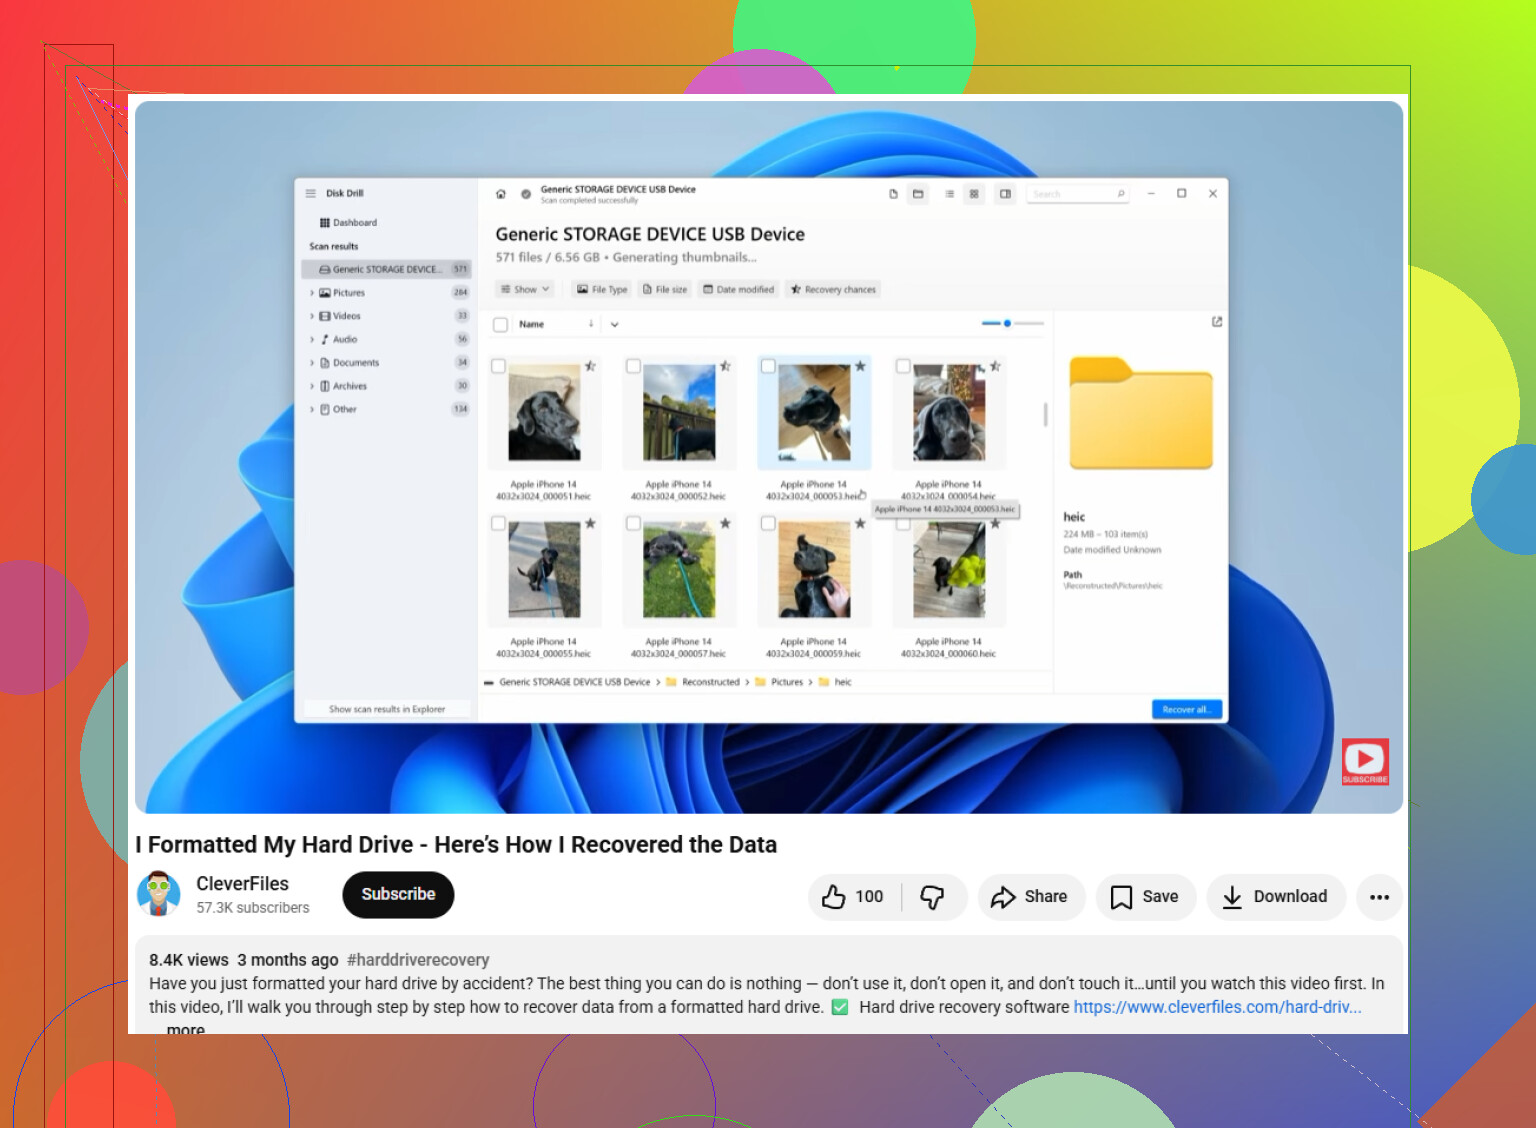
Before you start a full scan, make sure you have another drive with enough empty space for the recovered files. Tools like Disk Drill may show tons of recoverable data, but if you only have 80GB free and the Seagate is 2TB, you’ll end up stopping halfway or saving the “easy” files while missing what you actually needed.