My drive suddenly disappeared from Windows File Explorer, but it still shows up in Disk Management. I’m worried the drive or file system is corrupted and don’t want to lose the data. What’s the safest way to repair the drive and make it accessible again?
I’d be careful about trying to “fix” it right away. I had an old photo drive do almost the same thing once. It vanished from File Explorer, but Disk Management still showed the partition and the correct size. I assumed the drive was dead at first, but the actual issue was a corrupted file system.
The thing I’m glad I didn’t do was hit 'Scan and fix' when Windows prompted me. That might be fine in some cases, but if the data matters, I’d recover first and repair later.
The main question is what the drive is actually doing. If it still:
- appears in Disk Management,
- shows the right capacity,
- spins up normally,
- and isn’t clicking, grinding, or repeatedly disconnecting,
then I’d treat it like a file system or partition problem for now. That’s a much better starting point than a drive that doesn’t show up at all or sounds physically damaged.
Since this has family photos on it, I wouldn’t spend time trying to make the drive usable yet. The priority should be getting the files copied somewhere else.
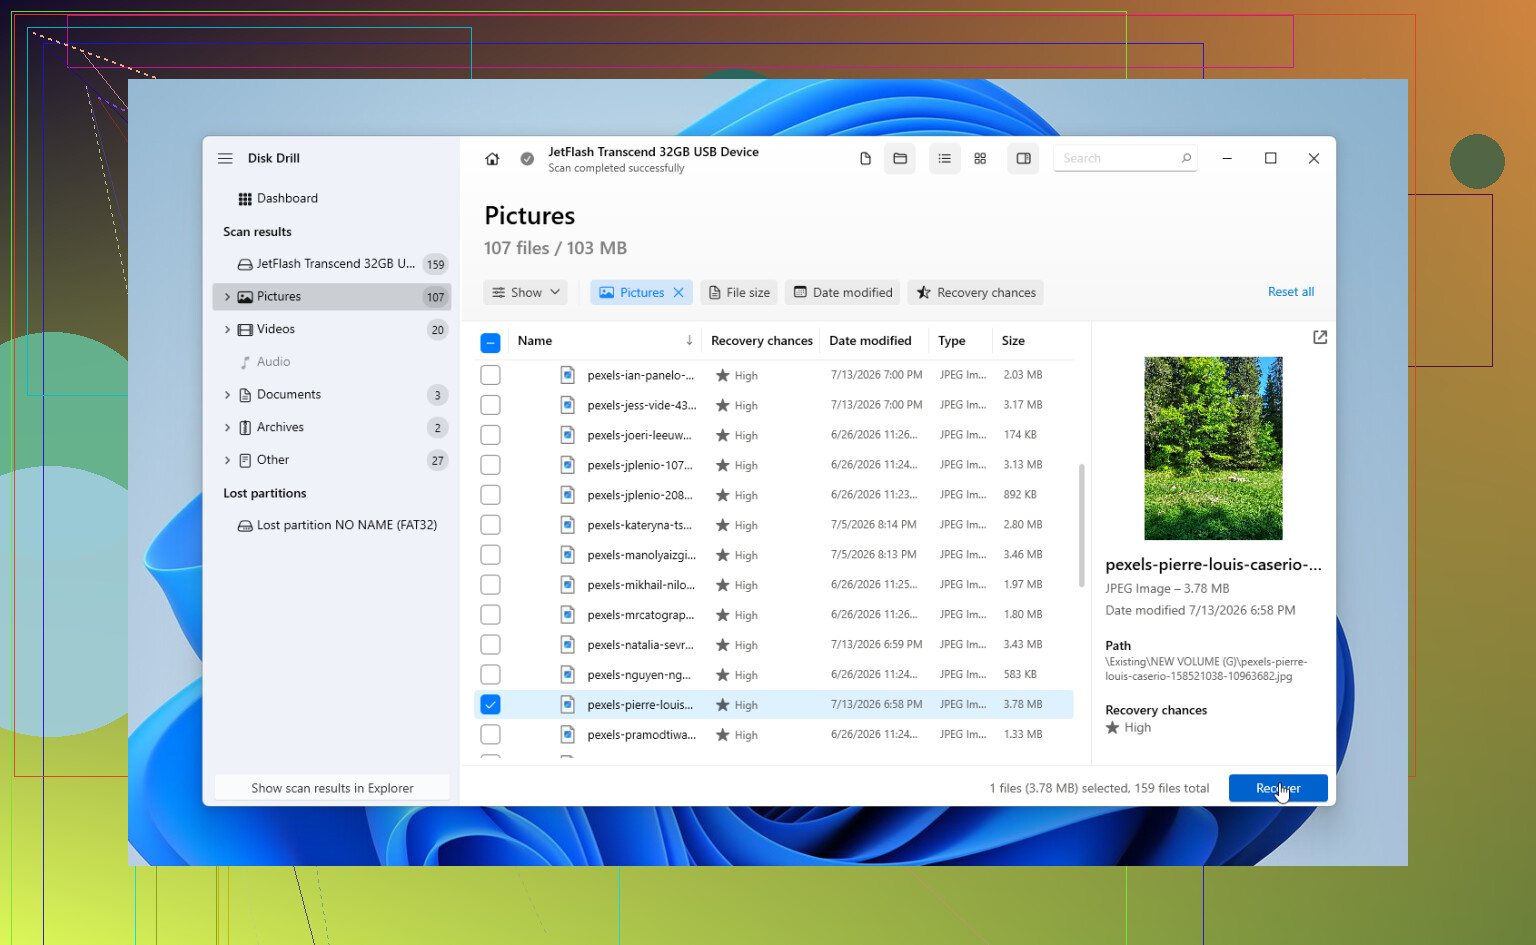
What helped in my case was Disk Drill. The part I liked was that you can make a full image of the drive first, then scan the image instead of hammering the original disk. If the drive gets worse during the process, at least you already have a copy of whatever sectors were readable.
Previewing the photos before recovering them was also useful. If the previews open normally, that’s a good sign the files themselves are probably intact. The Windows version also lets you recover up to 100 MB for free, so you can at least see what the scan finds before paying for anything.
After I copied the important stuff to another drive, fixing the original disk was simple. I formatted it, it got a clean file system, and it worked again. I still didn’t trust it with anything important after that, but it was fine for throwaway storage.
There are a few other tools or checks that can make sense, depending on what’s actually wrong:
- CHKDSK, but only after your data is already recovered, and only if the file system is still readable.
- TestDisk, especially if the partition suddenly shows as RAW or Windows lost the partition info.
- Another USB cable, enclosure, or computer if it’s an external drive. A bad USB bridge can make a healthy drive look corrupted.
I’d avoid DIY repair attempts if the drive is showing signs of physical failure, though. Things like:
- clicking sounds,
- disconnecting and reconnecting,
- wrong capacity in Disk Management,
- lots of pending or reallocated sectors in SMART,
- or scans slowing down badly.
At that point, every scan can make things worse. A recovery lab has hardware tools that normal software doesn’t. They can often stabilize the drive long enough to clone it sector by sector, then recover from the clone instead of working directly on the failing disk.
It costs more, obviously. Logical recoveries are often somewhere around $300–600, while mechanical failures can land around $800–2,000 or more, depending on the drive and damage. A lot of decent labs don’t charge unless they recover the data, which helps a bit.
If it were my drive, I’d do it in this order:
- Check whether Disk Management still sees the drive correctly.
- Recover the photos to a different drive.
- After that, try repair tools or format it.
- If the corruption comes back, replace the drive.
Drives are replaceable. Family photos aren’t. Even if you get this one working again, I’d take it as a warning and keep another copy of anything you’d hate to lose.
1 Like
Check Disk Management for the simple stuff first: no drive letter, volume marked Offline, or a partition showing as RAW. If it only lost the letter, assigning one may bring it back without “repairing” anything, but if it says RAW or asks to format, stop there and copy/recover the data before touching CHKDSK or format.
Do not initialize the disk, convert it, format it, or run CHKDSK just because Windows gives you a button that looks helpful. Disk Management is not a recovery tool, and some of its “fixes” are really just ways to write a new structure over the old one. If you see “Unallocated,” “RAW,” or “Not Initialized,” treat that as read-only territory until the files are somewhere else.
A detail people miss: assigning a drive letter is only low-risk if the partition still looks normal and has a real file system listed, like NTFS or exFAT. If it shows RAW, or Windows immediately asks to format it after you assign a letter, back out. Same if it is BitLocker-protected and just showing strangely because it is locked. Unlocking is fine if you have the key, but “repairing” before unlocking is asking for trouble.
The safest practical path is to clone or image the drive first, then scan the clone/image with recovery software. Disk Drill, R-Studio, DMDE, UFS Explorer, etc. can all be used this way depending on budget and comfort level. The important rule is the same regardless of tool: recover to a different physical drive, not back onto the problem drive. Once the data is copied and checked, then you can experiment with CHKDSK, formatting, repartitioning, or replacing the drive. If the drive drops offline during reads or makes bad noises, stop testing it and decide whether the data is worth a lab.
No, the safe repair is not to make Windows mount it again at all costs. A drive can appear in Disk Management because Windows still sees the device, while File Explorer only shows volumes it can actually mount. Those are separate things. So “it shows in Disk Management” is useful, but it does not prove the partition is healthy.
A practical thing people overlook is the enclosure or adapter. If this is an external drive, try a different USB port, cable, and power supply before doing recovery scans. Avoid USB hubs. If it’s a 3.5’ desktop external drive, the power brick can be the problem. If the drive inside is SATA and you’re comfortable removing it, testing it through another dock or direct SATA connection can tell you whether the USB bridge is lying to Windows. Don’t keep reconnecting it 30 times, though. Two or three sane tests are enough.
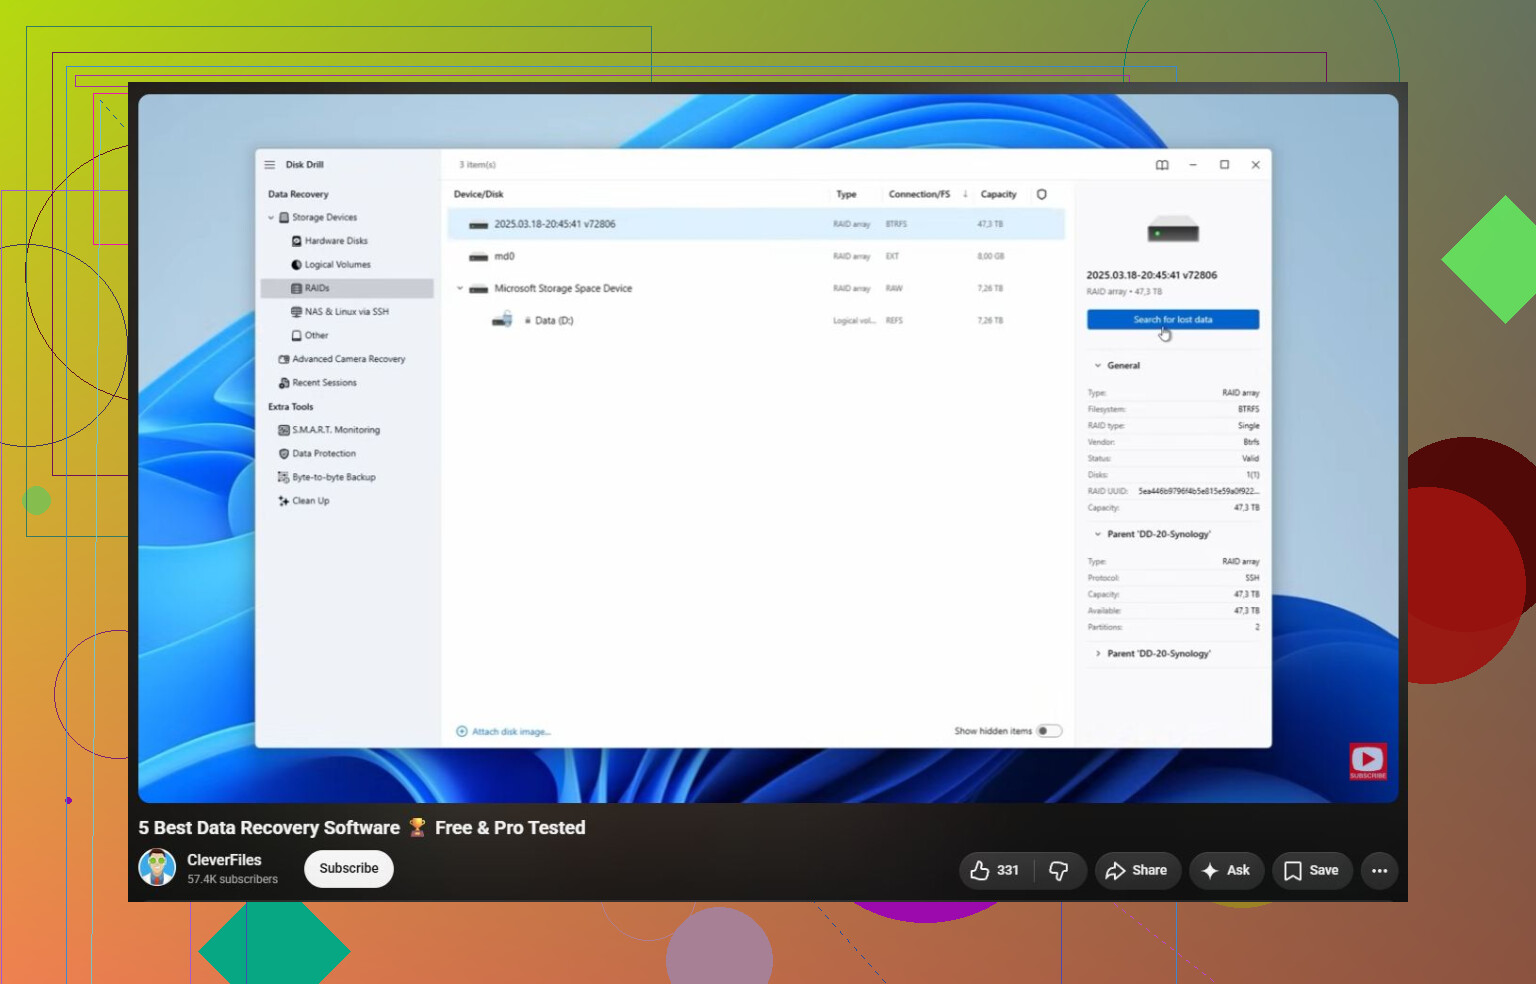
If Disk Management shows the correct size and a normal NTFS/exFAT partition with no drive letter, assigning a letter is probably the least invasive thing to try. If it shows RAW, Unallocated, Not Initialized, or Windows says “you need to format this disk,” stop treating it like a Windows repair job. At that point the safest path is to image the whole drive to another physical disk, then recover files from the image. Disk Drill can do that, as can several other recovery tools, but the important detail is boring: the destination drive needs enough free space for the image, often the full size of the problem drive, not just the amount of data you think is on it.
Do not recover files back onto the same drive. That sounds obvious, but it’s an easy mistake when the recovery program shows your old folders and you get impatient. Save recovered files to a separate internal drive, another external drive, or a NAS. Once the important files open correctly from the new location, then you can try CHKDSK, rebuild the partition, format, or whatever else.
If the drive is slow in a weird way, disappears during scans, reports the wrong capacity, or starts making mechanical noises, I would stop with software recovery. That’s when “just one more scan” can turn a recoverable drive into a worse problem. For a drive that is only logically messed up, software is fine. For a physically failing drive, cloning with consumer tools can be rough on it.